Before You Start
Make sure you have TibiaME from the Apple Store installed on your iPhone. This tutorial will guide you through configuring DNS settings to connect to the JTME server.
Install TibiaME from App Store
Make sure you have TibiaME installed from the Apple App Store.
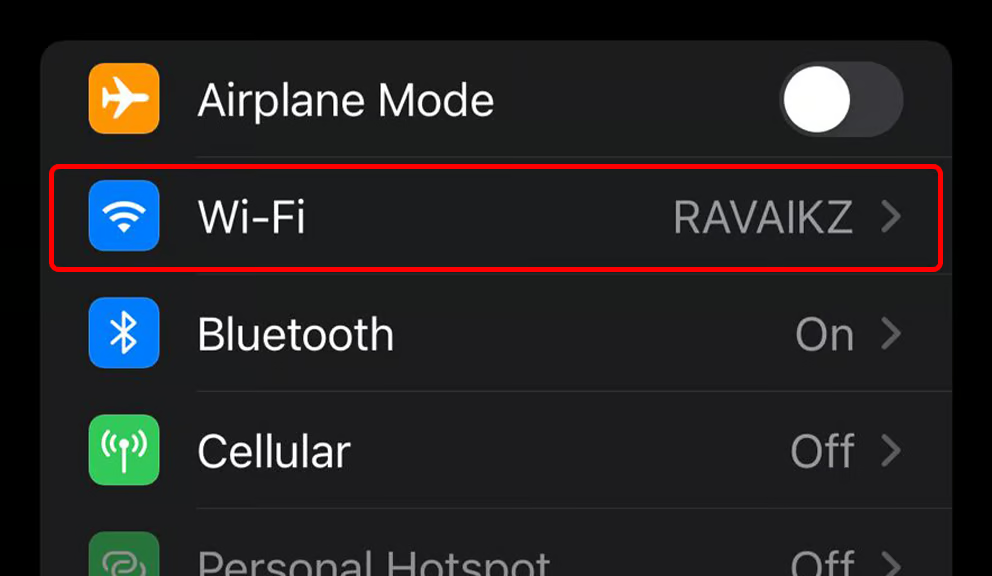
On your iPhone, go to Settings → Wi-Fi .
Access Wi-Fi Settings
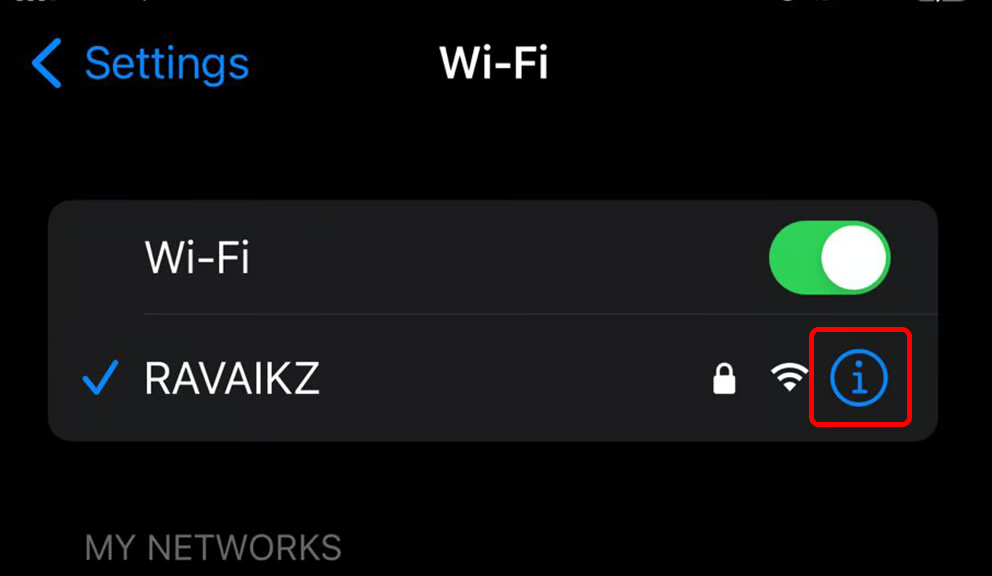
Find your connected Wi-Fi network and tap the (i) icon next to it.
This will open the detailed settings for your Wi-Fi connection.
Configure DNS Settings
Scroll down and look for "Configure DNS" or "DNS" .
Change the DNS setting from "Automatic" to "Manual" .
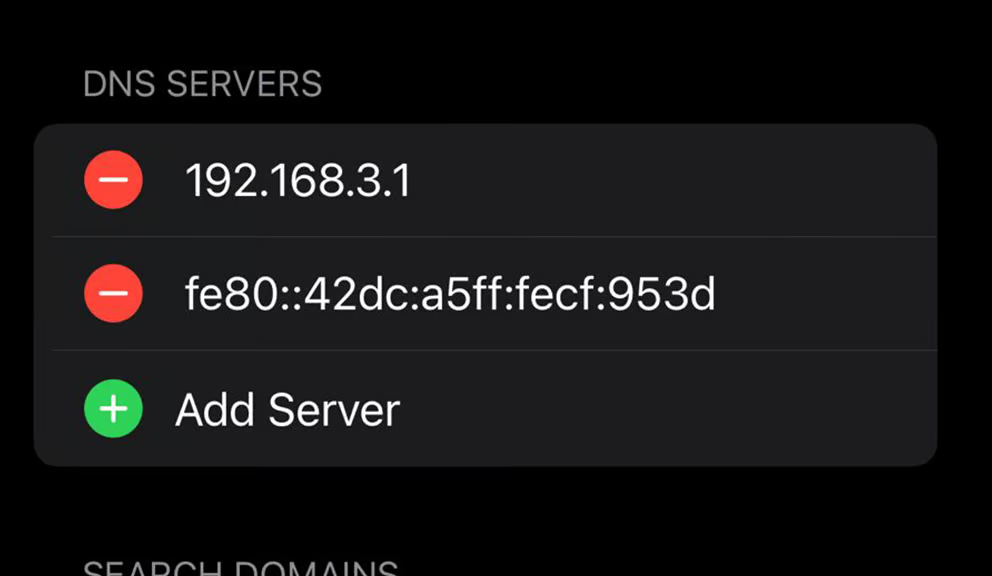
Clear Default DNS
Delete any existing DNS servers that are listed.
You need to remove the default DNS entries before adding the JTME DNS.

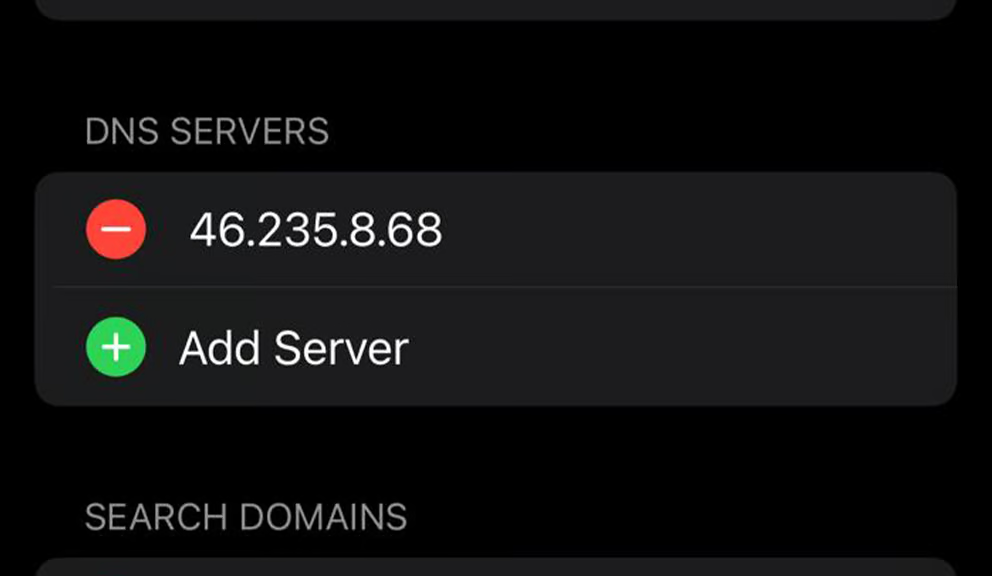
Add JTME DNS
Now add the JTME DNS server to connect to our server:
After adding, tap "Save" in the top right corner.
Open TibiaME and Play!
Open TibiaME and select World 200 to connect to the JTME server.
Enjoy your adventure!
Important Note
Some apps may have connection problems while using the JTME DNS. To avoid this, when you are not playing JTME , go back to your Wi-Fi settings and change DNS from "Manual" back to "Automatic". When you want to play again, just re-enable the JTME DNS.
Configuration Complete!
You have successfully configured your iPhone to connect to JTME. Have fun playing!
Back to Downloads